
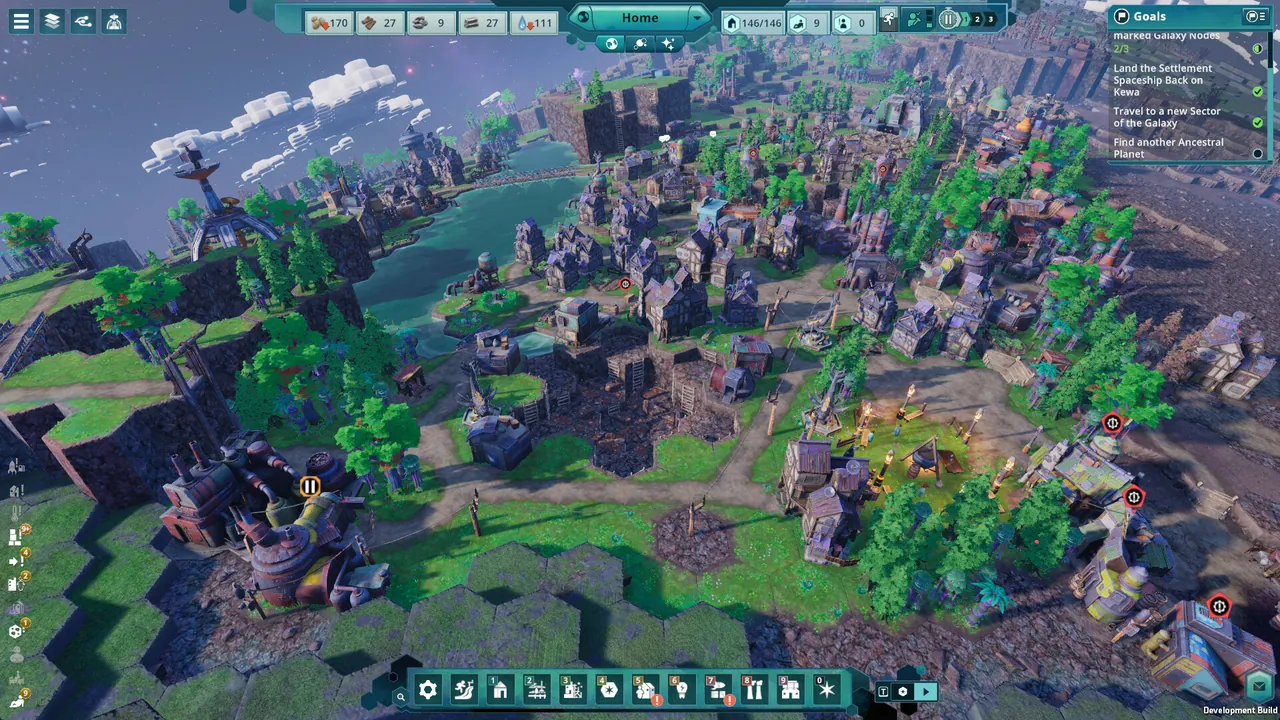
Once travel unlocks, Beyond These Stars stops being a single whale and becomes a small network of worlds. Kewa carries your peeps between star systems, and the planets you settle along the way supply what the whale cannot. The point of an outpost is not to abandon home; it is to reinforce it. This page covers the galaxy map, the ships that move between nodes, and how outposts keep your home supplied.
The Galaxy Map and Asking Kewa to Move
Two unlocks frame travel: the Space Ship Builder arrives fairly early, and once the story opens travel with Kewa, the Galaxy Map starts only partly visible and reveals more as you explore, with star nodes you can ask Kewa to visit. You do not pilot the whale yourself; the peeps put the request through the Strange Transmitter, and Kewa decides whether to go — sometimes after a detour to eat first. Because you request rather than fly, every jump commits the whole colony to a destination, which is why the map rewards patience over speed.
The official wiki describes travel as running on the whale's energy: longer journeys drain more of it, and eating restores it. Kewa prefers to route through debris fields and asteroid belts when it can, so some detours are the whale's decision rather than yours. The galaxy itself is laid out in hex sectors inside a blue boundary: Kewa can travel to hexes along the explored border, but nothing beyond it is ever revealed, which gives exploration a definite edge instead of open-ended space.
Scouting comes first. The Scout Ship, piloted by Jose, surveys a node so you know what you are travelling toward before you commit the colony. Its findings decide whether a jump is worth the trip. Node contents range widely: barren planets with nothing to settle, floating space junk, strange objects that reward investigation, trade stations that offer commerce, and aliens you can meet and befriend. Sending the Scout ahead turns each node from a gamble into a decision.
Influence over destinations grows with the relationship. The developers describe a strong bond as giving the player some say in where Kewa goes next, which is the difference between planning a route and following one. A weak bond works the other way: the store page warns that Kewa may leave a system and possibly never return when the relationship is not strong enough. That warning is why a colony cannot treat any single system as permanent.
Reading the node map carefully pays off. A planet that looks empty to the Scout is still worth noting for later, and an object that reads as junk may be worth a second look. Exploration is cheap when the Scout does it and expensive when the colony does. Surveying a node costs one Scout trip; discovering its contents with the whole settlement in tow costs a relocation and a build you might have spent somewhere else.
The official wiki calls the third view between the settlement and the galaxy the System View, and it is where most of the work happens. It shows whatever shares Kewa's current location — a star, a debris field, an asteroid belt, or an event such as an adrift spaceship. From there you dispatch ships outward: Scout and Trade ships to investigate and interact with events, Settlement ships to land on habitable worlds. It is the layer where the decisions above actually get made, so get comfortable switching between the three zoom levels.
Ancestral Planets, Biomes and New Buildings
Ancestral Planets are the settleable worlds, and they exist for a concrete reason: they hold resources Kewa cannot provide. The developers give one example from a neutral sector — a planet with cows and chickens that yield milk and eggs, plus berries, wheat and shells that feed a cement chain. None of those come from the whale.
Settling such a world unlocks buildings that only make sense off Kewa. The Pasture handles livestock, the Trawler works the ocean, and the Orchard grows fruit. Together they pull the peep diet beyond the potatoes they eat at home, which is a quality-of-life upgrade as much as a logistics one. The exact planet names are not fixed in the source material, so treat the example as a shape rather than a specific world.
Every planet carries two kinds of biome, land and ocean. Oceans cannot be built on, and the developers note they are mostly not terraformable, so an outpost must be planned around the usable land. A world that looks generous from orbit can be mostly water once you land, and the Settlement Ship only pays for itself if enough shore exists to build on.
Temperature varies by sector and matters more than it first appears. Systems that run too cold or too hot affect peep mood and slow crop growth, so a settleable planet in a harsh zone carries a standing penalty. Choosing where to expand is therefore partly a climate decision, and it is worth revisiting the resources guide when weighing what a world actually contributes. The technology tree gates which of these buildings you can reach and when.
Ships, Space Ports and Outposts
Three ship types do the work of moving people and goods. The Scout Ship investigates, the Trade Ship carries supplies, and the Settlement Ship lands on a new planet so construction can begin. Preview material suggests trade ships will be the most numerous of the three, because moving goods between a whale and a growing set of outposts is an ongoing job rather than a one-off.
| Ship or structure | Role | Notes |
|---|---|---|
| Scout Ship | Surveys a node before you commit | Piloted by Jose; its report decides whether a jump is worth it |
| Trade Ship | Carries supplies between settlements | Likely the most numerous ship type, since hauling never stops |
| Settlement Ship | Establishes the first planetary settlement | Can land without an existing pad; needs a local Space Port before departure |
| Space Port | Hosts ships and enables landing | Holds up to four Landing Pads, one ship per pad at a time |
| Landing Pad | The docking point for one ship | Required for ordinary ships; initial Settlement Ship arrival is the exception |
Each Space Port supports up to four Landing Pads, and each pad holds one ship at a time. The Settlement Ship is explicitly exempt from needing a pad for its initial landing. The developer describes it as an upgraded Home Spaceship with larger storage and a pad attachment, so regular shipping can serve the new settlement. Build a Space Port in the area before expecting the Settlement Ship to depart again. See the ships and landing pads guide for that checklist.
Everything above serves one goal: keeping Kewa supplied. Outposts reinforce the whale rather than replace it, supplying goods and expanding diets so the home colony stays healthy. That is also how the wider galaxy judges you. The store page states that your stewardship and your treatment of Kewa shape how aliens see the peeps, and civilisations that approve open quests, trade and technologies in return. A well-run network is diplomatic capital, and the Kewa guide explains why the whale's own health underpins all of it.
Pro tip: Build your first Space Port with spare Landing Pads even if you only fly one ship. Pads are the throughput limit, and adding one later means pausing the settlement work you already committed to.
Before reshaping an outpost, check its usable land and the terraforming guide. Ocean biomes have different constraints from the ground your settlement can occupy.
Sources
- Official Hooded Horse wiki, The galaxy (hex sectors, boundary, System View): https://wiki.hoodedhorse.com/Beyond_These_Stars/The_galaxy
- Official Hooded Horse wiki, Kewa (energy, eating, Strange Transmitter): https://wiki.hoodedhorse.com/Beyond_These_Stars/Kewa
- Steam announcement, "Dev Blog #28 Settleable Planets": https://store.steampowered.com/news/app/2295060/view/1838407329267634
- Steam announcement, "Developer Diary: Space Ships": https://store.steampowered.com/news/app/2295060/view/1784506359047856
- Steam store page: https://store.steampowered.com/app/2295060/